How to Tighten Mountain Bike Chain
A mountain bike has a vast amount of uses, you can go off-road and adventure, you can use it for your fitness goals, you can commute to work, and you can even go on bike touring. They are a lot of fun, but they are just awful when they don’t work correctly. Mountain bikes require a certain amount of maintenance to keep them on the road and going well.
A prevalent problem I come across, and something I am often asked about, is mountain bike chains, and the most common issue is them being loose. Having a slack chain is incredibly irritating and can turn a great bike ride into an awful experience. This article will tell you how to tighten a mountain bike chain.
Is My Bike Chain Too Loose?
Having a slack chain is an awful experience and can be pretty dangerous to a certain extent. You might not know you have a loose chain until it is too late. Some common symptoms of having a slack chain are;
- Slipping Bike Chain
- Bike Chain Falling off
- Gearing changing themselves
- Gears are slipping
- Bike Chain sagging close to the floor
These are potentially dangerous issues when riding your bike that can make your foot slip or cause your bike’s drivetrain to get jammed. Many cyclists don’t often see a loose chain until it is too late.
Why Is My Bicycle Chain Loose?
Having a loose chain is very common, and it’s not something you have done wrong as a cyclist. Chains have to be very light and efficient to work properly on a bike, and they have to be able to move around the gearing. When you get your bike serviced, they will typically check your chain to look to see if it’s loose or stretched. Many bike shops will test your bike to look for the cranks slipping.
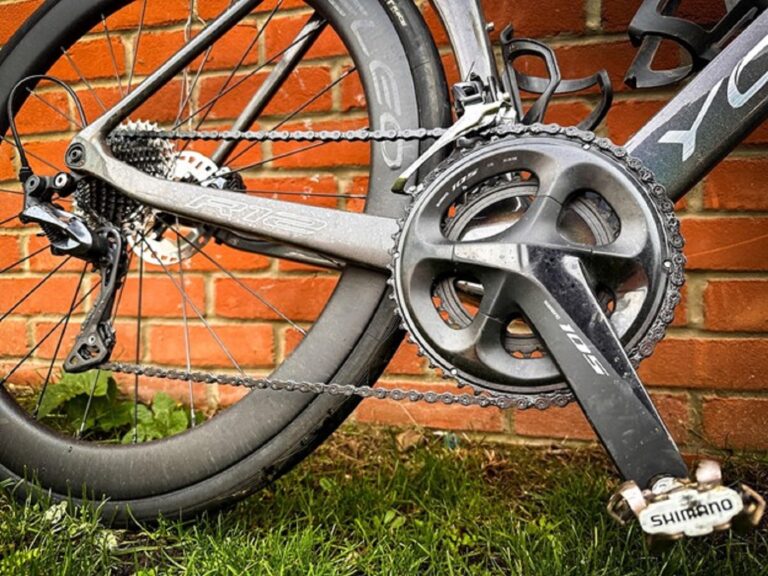
How can you test to see if your chain is too loose? A straightforward way of doing this is to pop your bike up against a wall. Then where the chain stretches across from the rear derailleur (read how to install a rear derailleur) to the crank at the bottom, you are going to want to push down and up and down in the center of the chain, and if it moves more than an inch and a half before the derailleur starts to take tension, it’s probably too loose.
What Causes Chain Stretch?
Chain stretch is a very common issue and naturally happens to every bike being used. Chains have to have a certain tension naturally, and when they get used, they take all the tension from the rider pushing into the drivetrain.
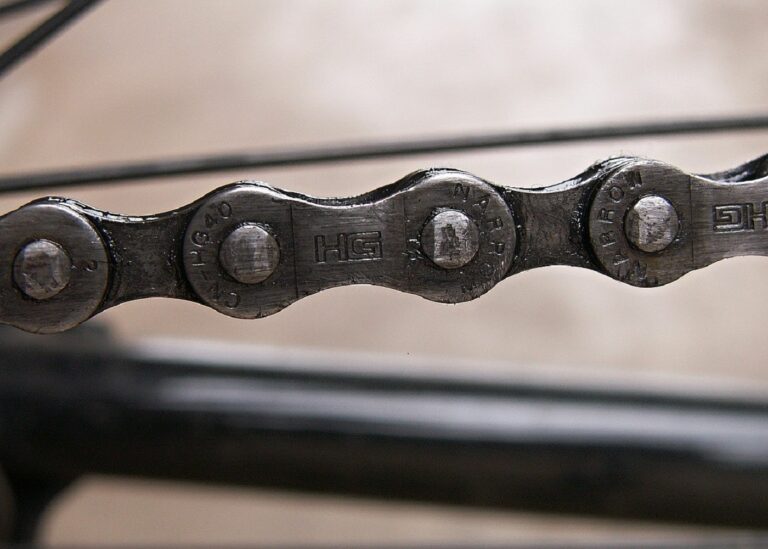
All this tension causes the chain to stretch, and you can see this when you go to replace the chain. If you count the links on the new chain and put it next to the old chain, you will see for the same amount of links, the old chain is much longer.
Why Is My Crank Slipping?
When the chain is stretched and too long, the links are slightly larger, the chain will slip on the crank, or when the chain is sagging and not tight enough, the chain will also slip on the crank (how to remove a bike crank).
When you are in that heavy climb, and your foot just falls down, this is because the chain can’t grip the teeth, and it will just slip to the following link. This can also be an issue when the crank is very worn too.
We Think You’ll Like: How to Pump a Mountain Bike Tire
How do we tighten our bike chain?
Before we go into tightening a mountain bike chain, we need to speak about the different drivetrains that we can do this on. Firstly we have a single speed, and then we have the geared bike with a rear derailleur. They have two completely different methods, so make sure you’re using the right one.
I would also advise you to check the bike chain before making sure that it doesn’t need replacing. Using a chain that needs replacing will wear lots of other parts of your bike out, such as the cassette and chainrings.
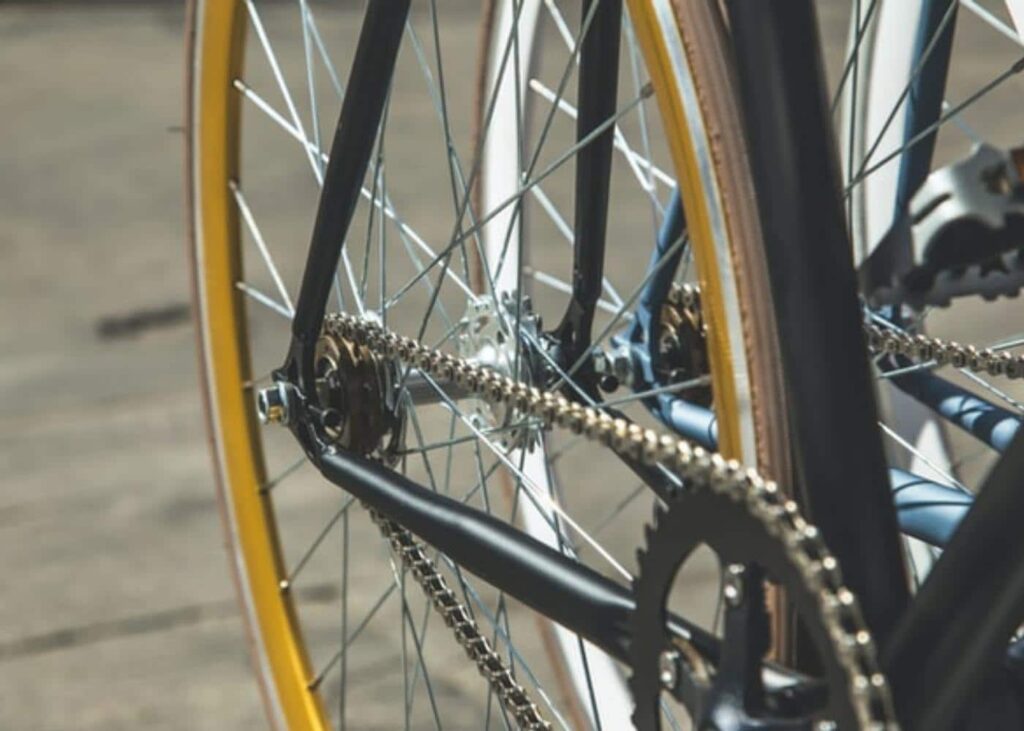
How to tighten a bike chain on a single gear Mountain Bike?
Let’s start with the easiest one, the single speed. A single gear bike has a single cog on the front chainring and the rear wheel, and they are straightforward to tighten the chain on, and you will find them very easy to fix.
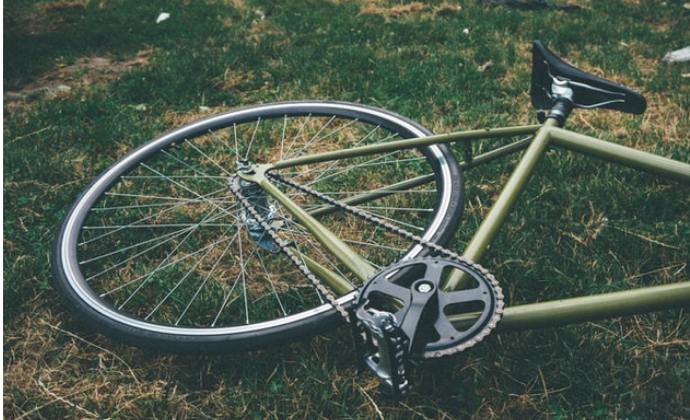
Step one: Safe Spaces
Find a safe place to work on your bike, and you will need to either turn the bike upside down, or you will need to put the bike in a bike stand. A stand would be better if you had one.
Step two: Loosen the Rear Wheel
First, you need to loosen the rear wheel off but don’t remove it. Just let it be loose. You will typically need a spanner to do this as most of these bikes use a 10mm on the rear. Don’t round the bolts off in the process.
Step three: Tighten the rear wheel back up
Single Speed bikes will use what we call a horizontal dropout so that you can position the wheel in different places on the rear triangle. You need to pull the wheel back to tension the bike chain and then tighten it back up, making sure it’s straight. You want to have a little bit of slack about half an inch in movement, how we tested it before.
Step four: Finish
The last step and you need to be making your checks here. Is the wheel in straight and tight with the rear axle level? Are the mountain bike brakes still in the right place? Is the rear tire in the right place? If so, you’re all ready to ride.
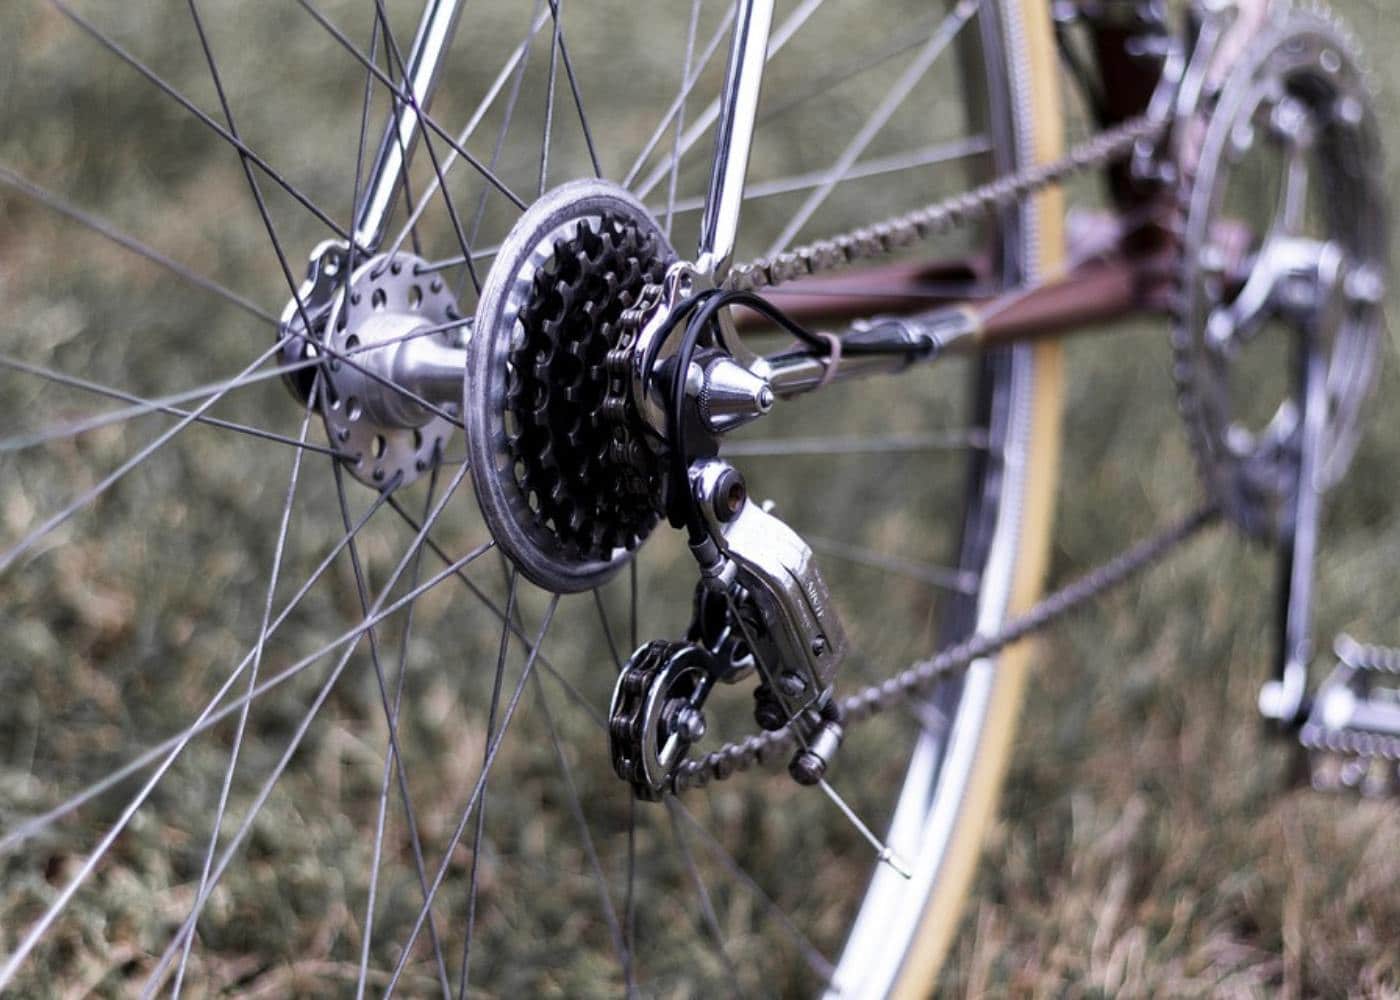
How to Tighten a Bike Chain With a Derailleur?

It’s a bit harder to tighten a chain with a rear derailleur, but once you have done it, it will be second nature and easy to do. As I mentioned before, it’s always best before you start to make sure that the bike doesn’t need any new parts or isn’t broken in any way.
Step one: Safe Space
Make sure you have a safe space to work and have the tools ready. You will need an Allen key set and maybe a chain breaker. If you have a bike stand, it will be convenient if not, you can either flip the bike upside down, but this will be harder to do.
Step two: Assess the bike
Now we need to take a good look at the bike to find out why the bike chain is loose. Providing you parts are in useable conditions will be one of two things. Your derailleur tension screw needs doing up more, or your chain is too long for the bike frame.
Step three: Chain tension Screw the B Derailleur Screw
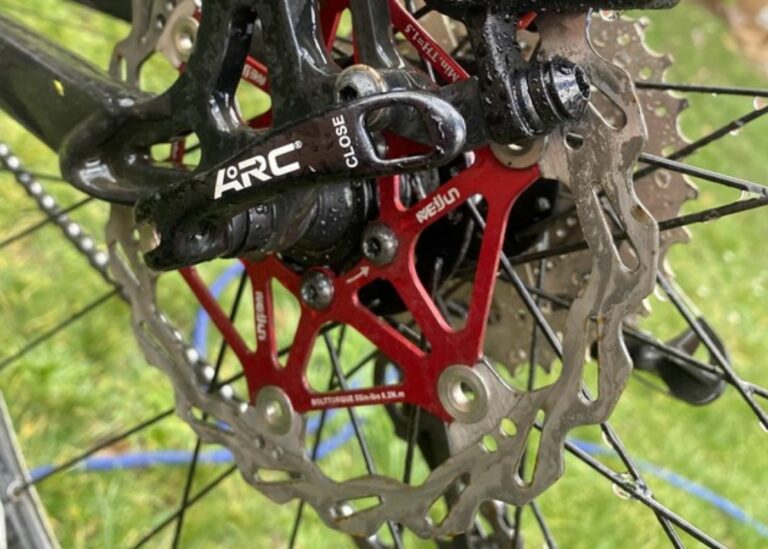
Let’s adjust the bike chain tension first. You will have what they call a B derailleur screw on the back of your rear derailleur. This is your chain tension screw.
To adjust bike chain tension, we can either can loosen or tighten the derailleur screw. By screwing it in, you can draw the tension, and the chain will become tighter. You need to make sure it’s not too tight, or the shifting won’t be as smooth or might not work at all.
Step four: Remove links from the chain
If you have a bike chain that is too long, then it will naturally be very slack, and as much as we want to adjust the B screw above, we might need to take a few links out. You will need to remove the split link, which will let the bike chain fall. The best way to get the correct chain length is to put your gears in the smallest cog on the rear and smallest on the front.
Put the chain in and pull the chain tight until the derailleur cage pulls slightly down, so there’s no slack. Hold on to the link you need to break and then proceed to break the chain there. It’s ok for the chain to go loose here now. Rethread the chain, add the split link back, and the chain should be the right length. If you’re unsure how to do this, use a Youtube video to visualize.
Step five: Finish up
Now it’s the time to check everything is tight on the bike frame and everything works ok, such as your gearing, and anything around the rear tire and now you are good to go on a mountain bike ride.
Related Articles:
How Much Weight Can a Mountain Bike Hold?
How to Train for a Mountain Bike Race
Frequently Asked Questions
Although I have a new chain, and it’s tight, it still slips?
This is probably due to your cassette or your chainrings being too worn. These will more than likely need changing every few chains you get through,
How do I know my bike chain size?
Count the cogs on the rear cassette. Now you know how many speeds your chain is, let’s say eight. Find the brand your groupset is, for example, Shimano, and now you know what brand you need. So when you order, you will need to get a Shimano eight-speed chain.
How long does a chain last?
You are going to want to change this every 1500 miles, in my opinion. The best thing to do is buy a chain checker and use that to see when it needs replacing.
I’ve done these steps but it doesn’t work?
There might be something else wrong for example the freewheel could be tight. See a reliable bike shop for advice.
Conclusion
Now you know how to tighten a mountain bike chain, you will be able to do this for yourself and others. Ensuring the tension is correct on your bike chain is vital, and we will always recommend getting it right, not just for your safety but always to give you a better experience riding your bike. Thank for reading how to tighten the mountain bike chain.