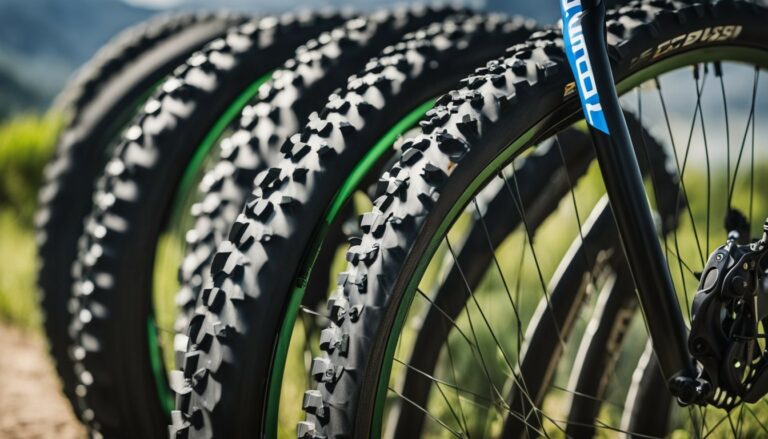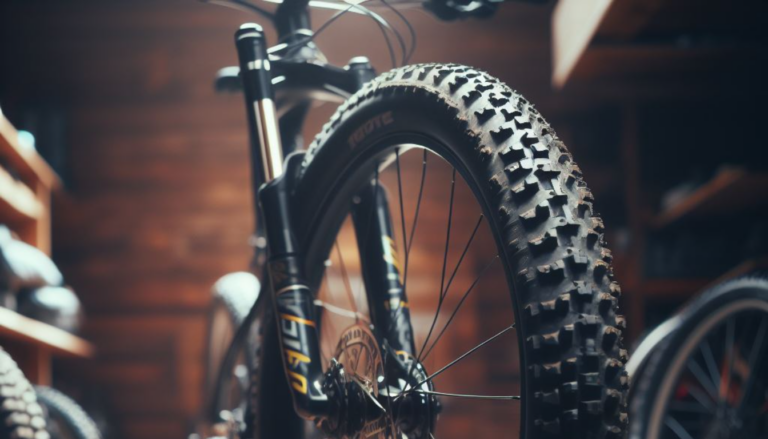
Guide to Tubeless Tires: Essential Tips for a Smooth Ride
Tubeless tires have become increasingly popular in recent years, providing cyclists with a more efficient and reliable option compared to traditional tires with inner tubes. T
hese tires work by creating an airtight seal between the tire and the rim, eliminating the need for an inner tube. As a result, cyclists can enjoy some advantages like better traction, less rolling resistance, and the ability to run lower tire pressures.
Making the transition to tubeless tires may seem daunting for some riders due to the perceived complexity of the installation and maintenance process. T
his guide aims to break down the essentials of tubeless tires, from understanding their components to installing and maintaining them, helping cyclists make an informed decision about whether to switch to this innovative tire technology.
Key Takeaways
- Tubeless tires offer enhanced performance, allowing cyclists to run lower tire pressures and experience better traction.
- Proper installation and maintenance of tubeless tires are necessary for optimal performance and reliability.
- Safety and sustainability considerations are important factors when choosing the right tubeless tires for your bike.
The Advantages of Tubeless Bike Tires

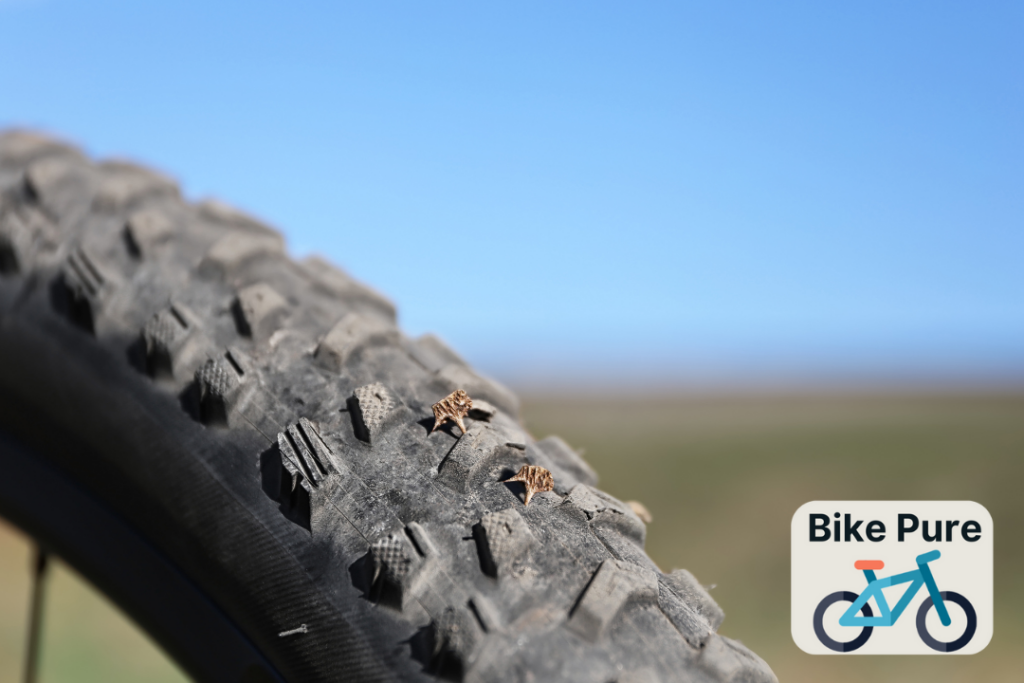
1. Enhanced Puncture Resistance
One of the main benefits of tubeless bike tires is their enhanced puncture resistance. Traditional bike tires with tubes are more susceptible to punctures caused by sharp objects such as thorns or glass.
Tubeless tires are less prone to punctures as they have a layer of sealant inside that instantly plugs small holes in case of a puncture. This enables riders to experience fewer interruptions during their ride and reduces the risk of getting stranded due to a flat tire.
2. Improved Traction at Lower Pressures
Tubeless bike tires allow for better traction on various terrains, as they can be run at lower pressures compared to regular tires. Lower tire pressure increases the contact patch of the tire, providing superior grip and control. This improved traction is especially notable on off-road trails, where the added grip can lead to better handling and performance.
3. Weight Reduction Benefits
Switching to tubeless bike tires can result in a noticeable reduction in weight. Tubeless tires eliminate the need for inner tubes, thus removing their weight from the equation.
Tubeless tire systems usually require less rubber to create tire casings, which contributes to the overall weight reduction. The decrease in weight can improve acceleration and the general responsiveness of the bike, while providing a smoother and more efficient ride.
4. Performance Gains Across Cycling Disciplines
The advantages of tubeless bike tires extend across various cycling disciplines, from road cycling to mountain biking, and even gravel biking. Mountain bikers can benefit from the improved traction and puncture resistance, which can make tackling rough terrain more manageable, as demonstrated by laboratory measurements of mountain bike tire performance.
Road cyclists can enjoy the weight reduction benefits, as well as the smoother ride afforded by the elimination of friction between the tire and the inner tube. Commuter and recreational cyclists may appreciate the reliability of tubeless tires, as they reduce the chances of encountering flat tires during rides.
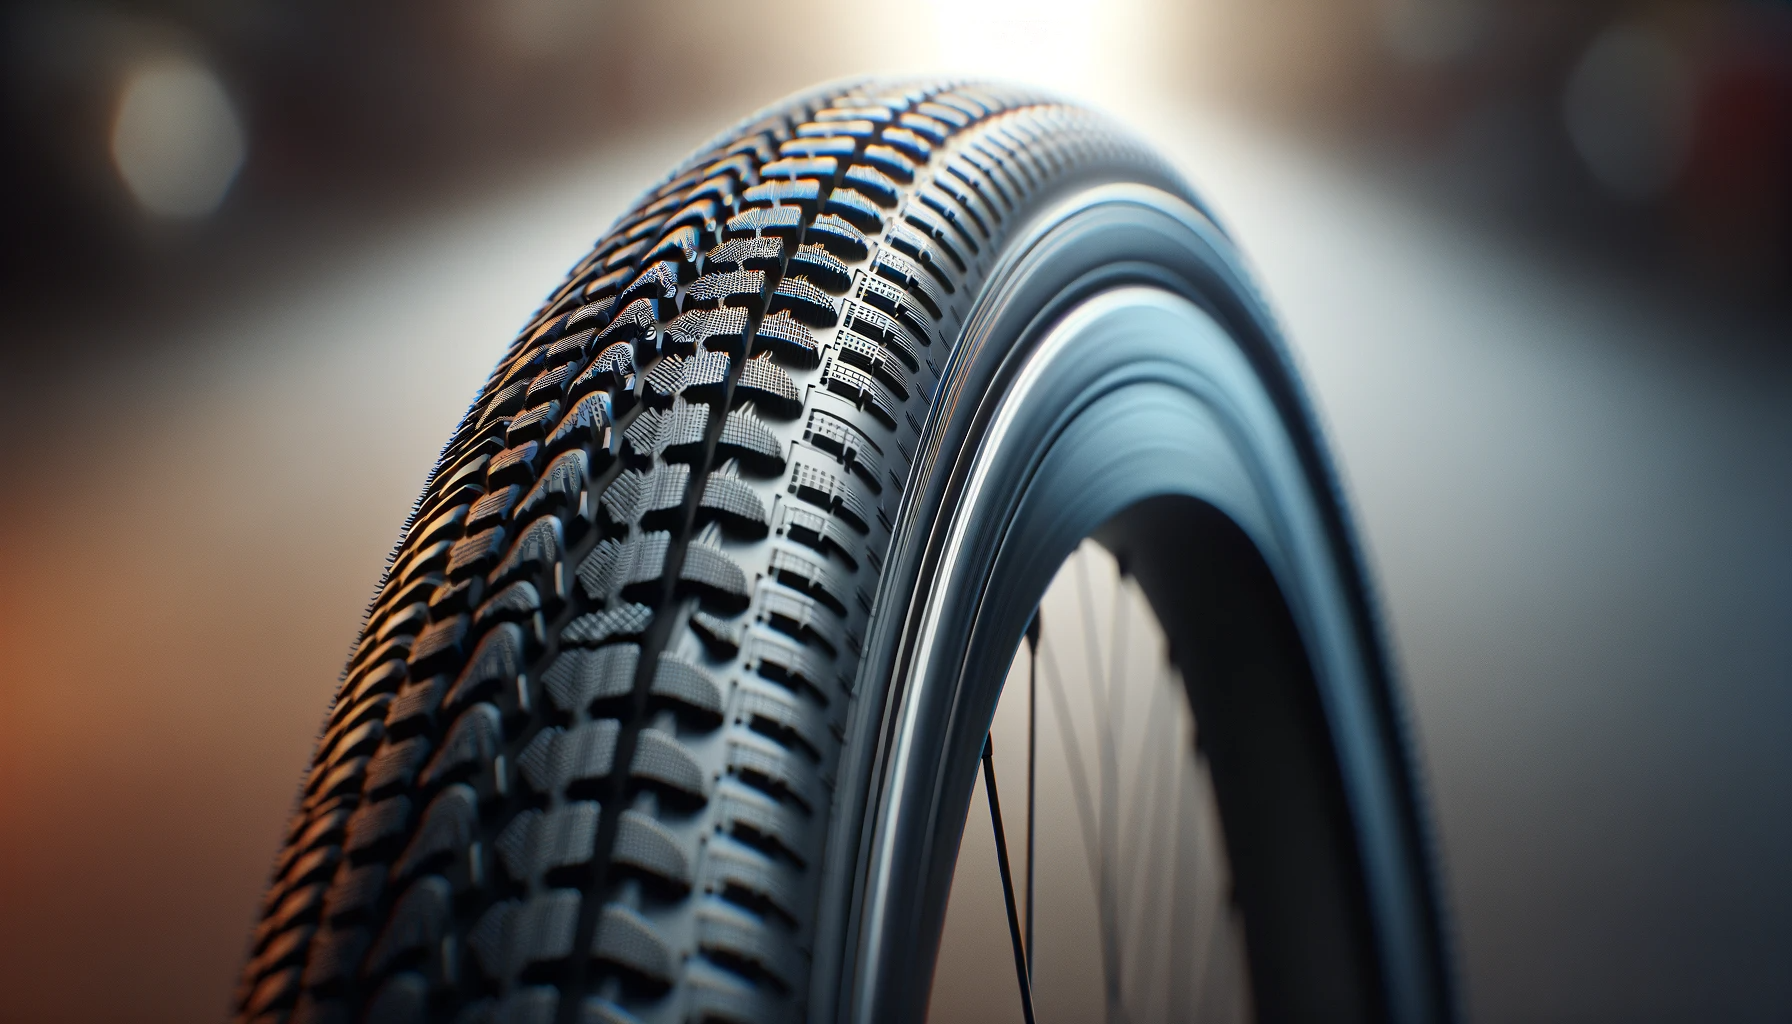
Understanding the Components of Tubeless Bike Tires
Tubeless bike tires are gaining popularity among cyclists due to their superior performance and ability to reduce the risk of flats. To get the most out of a tubeless setup, it’s important to understand the components involved and how they interact with each other.
Anatomy of a Tubeless Bike Tire
A tubeless tire consists of several parts that work together to create an airtight and sealed system. These components include:
| Component | Function | Importance |
| Tire | Tubeless-ready tires have a robust bead for an airtight fit on the rim. | Essential for seal |
| Rim | Must have features like bead locks for proper sealing. | Integral to tire fit |
| Valve | Special valves with removable cores for adding sealant. | Key for inflation |
| Sealant | Fills punctures and maintains an airtight system. | Significant for repair |
| Rim Tape | Seals the rim bed and covers spoke holes. | Necessary for airtightness |
Types of Tubeless Systems for Bikes
There are two primary types of tubeless systems for bikes, each with its pros and cons:
- UST (Universal System Tubeless) for Bikes: UST is a widely-used standard developed by Mavic, Michelin, and Hutchinson. UST tires have a specific bead and casing design and are used with compatible UST rims, providing lower rolling resistance and enhanced performance, as confirmed by studies on the rolling performance of mountain bike wheels. The system is fully sealed without the need for sealant, providing lower rolling resistance and enhanced performance.
- Tubeless Ready (TLR) Tires: These tires can be used with both tubeless and non-tubeless rims. The tire bead is specifically designed to ensure a tight fit on the rim, but sealant is required to create an airtight seal. TLR tires offer greater compatibility with various rims and are typically lighter than UST tires.
Some non-tubeless wheels can also be converted to tubeless setups using Conversion Kits. These kits typically include rim tape, valves, and sealant, allowing you to modify your existing wheel system into a tubeless-compatible one.
Step-by-Step Installation Guide
Necessary Tools and Materials
Before beginning the installation process, gather the necessary tools and materials: tubeless-compatible wheels, tubeless tires, rim tape or tubeless tape, sealant, valve stems, a valve core remover, tire levers, and an air compressor or floor pump.
Preparing the Rim and Wheel
- Clean the rim bed and walls, ensuring they are free of dirt and debris.
- Apply the rim tape or tubeless tape to the rim bed, covering all spoke holes, creating an airtight seal.
- Insert the valve stem through the designated hole and tighten with the valve core remover.
Mounting the Tire onto the Rim
- Mount one side of the tire bead onto the rim.
- Insert the valve stem into the valve hole of the tire.
- Mount the other side of the tire bead onto the rim, being careful not to pinch the valve stem.
Seating the Bead
- Inflate the tire using an air compressor or floor pump to seat the tire bead against the rim walls.
- The tire should make an audible “pop” when the bead is seated.
- Deflate the tire, releasing air until the tire pressure reaches the manufacturer’s recommended level.
Adding and Measuring the Sealant
- Remove the valve core using the valve core remover.
- Measure the appropriate amount of tubeless sealant as recommended by the manufacturer.
- Inject the sealant into the valve stem using a sealant injector or injector syringe.
- Reinstall the valve core.
Inflation and Final Checks
- Inflate the tire to the recommended tire pressure using the air compressor or floor pump.
- Check for any air loss by gently shaking the wheel and listening for audible leaks.
- Adjust the tire pressure as needed, and then perform a final visual inspection to ensure the bead is seated properly on the rim.
Maintaining Your Tubeless Bike Tires
Regular Maintenance Schedule
To ensure your tubeless tires perform optimally, it is necessary to follow a regular maintenance schedule. Consistently inspect your bike tires for punctures, wear and tear, and air loss. Make it a habit to clean and inflate your tires before every ride. Proper tire pressure not only prolongs the life of your tires but also ensures a comfortable and safe ride.
Sealant Checks and Top-Ups
The sealant in tubeless tires plays a significant role in maintaining the seal and preventing air loss. It is important to check the sealant levels regularly and top-up as needed. Depending on your usage, this may be every couple of months or more frequently. For best results, follow the manufacturer’s recommendations on sealant type and quantity.
Puncture Repairs and Tire Health
One of the advantages of tubeless bike tires is their ability to self-seal minor punctures. Larger punctures may require manual intervention. In such cases, you can use tire plugs or a tubeless tire repair kit to fix the issue. Regularly inspect your tires for punctures to ensure your tires remain healthy and safe to ride on.
Knowing When to Replace Your Tubeless Tires
The lifespan of tubeless tires varies depending on factors such as riding conditions, frequency of use, and maintenance habits. Keep an eye on the tire casing and treadwear to determine when it’s time to replace your tubeless tires. Some common signs that it’s time for a replacement include excessive wear, damaged or punctured casing, or persistent air loss that can’t be fixed with puncture repairs or sealant top-ups.
Troubleshooting Common Tubeless Tire Issues
Tubeless tires have become popular in recent years due to their improved performance and comfort during rides. They can encounter certain issues that need to be addressed. This section covers some common tubeless tire problems and provides solutions to keep your ride smooth and enjoyable.
Air Leaks and How to Fix Them
One of the most common issues with tubeless tires is air leaks. This can result from a variety of factors such as a faulty valve, damaged tire bead, or insufficient sealant. Keep an eye out for a gradual loss of tire pressure, as it could indicate an air leak.
To fix air leaks, first, inspect the valve and ensure it is functioning correctly and tightly sealed. A faulty valve can be replaced to prevent further air loss. Next, examine the tire bead for any visible damage or inconsistencies.
If you find any defects, consider replacing the tire. Finally, verify that there is enough tubeless polymer sealant in the tire and that it is evenly distributed. This will help maintain an airtight seal and prevent air from escaping.
Bead Seating Challenges
Sometimes, seating the tire bead on the rim can be challenging due to the tight fit. To overcome this, try inflating the tire with a blast of air using a high-volume pump or air compressor.
This sudden burst of air pressure helps seat the bead properly. Ensure the rim tape is applied correctly and that there is no dirt or debris on the rim or tire bead during the installation process.
Sealant Maintenance Tips
To maintain optimal performance of tubeless tires, it is needed to regularly check and refill the sealant. Over time, the sealant can dry out or get used up to seal punctures, leading to decreased effectiveness. Here are some tips for sealant maintenance:
- Inspect regularly: Every 2-3 months, check the level and condition of the sealant. If you ride in dry or hot conditions, consider inspecting it more frequently.
- Top off as needed: When sealant levels are low or the sealant has dried up, add a fresh batch to maintain an airtight seal.
- Replace sealant: If you find the sealant has become clumpy or ineffective, fully remove the older sealant and add a fresh batch of the recommended sealant for your tires.
By addressing these common tubeless tire issues and following proper maintenance practices, you can enjoy a smooth and worry-free ride on your tubeless tires.
Cost-Benefit Analysis for Cyclists
Initial Setup Costs
When considering the switch to tubeless tires, cyclists need to take into account the initial setup costs. Tubeless tires tend to be more expensive than traditional tires with inner tubes.
There are other components required for the transition, such as tubeless tape, sealant, and compatible rims. To set up a bike with tubeless tires, cyclists may need to invest in:
- Tubeless tires: These might be slightly more expensive than traditional clincher tires with inner tubes.
- Tubeless tape: This special tape is designed to seal the rim bed, providing an airtight seal for the tire.
- Sealant: The liquid sealant is necessary to fill small punctures and maintain air pressure in the tire.
- Compatible rims: Some bike rims may require modification or replacement to accommodate tubeless tires.
Long-Term Savings and Value
Despite the higher initial costs, tubeless tires can offer long-term savings and value for cyclists. One significant advantage is the reduced risk of punctures, as the liquid sealant can automatically seal small holes. This means fewer repairs and replacements of inner tubes, leading to cost savings over time.
Tubeless tires can provide improved ride quality and performance by allowing for lower air pressure, which results in better traction and less rolling resistance. Some long-term benefits of tubeless tires include:
- Reduced punctures: Less frequent need to repair or replace inner tubes
- Enhanced ride quality: Improved traction and reduced rolling resistance from lower air pressure
- Lower maintenance: Fewer components to maintain, such as inner tubes
Cost Comparison with Traditional Tubed Tires
In comparison to traditional tubed tires, tubeless tires have both benefits and drawbacks in terms of cost. As mentioned earlier, the initial setup costs for tubeless tires can be higher due to the need for additional components and compatible rims. The long-term savings from reduced puncture repairs, improved ride quality, and lower maintenance can offset this initial expense.
While the initial investment in tubeless tires may be higher, the potential long-term savings and improved performance can make them a worthwhile consideration for cyclists seeking better ride quality, reduced maintenance, and lower risk of punctures.
Environmental and Sustainability Considerations
The Green Benefits of Going Tubeless
Tubeless tires offer several environmental advantages over traditional tubed tires. One of the biggest advantages is their ability to hold air longer, resulting in improved fuel efficiency and reduced CO2 emissions. The elimination of inner tubes means lower tire weight, which can further contribute to energy savings.
Hydroplaning, a dangerous condition that occurs when a tire loses contact with the road due to water, is also reduced in tubeless tires, as they are better equipped to disperse water and maintain traction with the road surface.
Disposal and Recycling of Tubeless Components
While the production and use of tubeless tires have clear environmental benefits, it is necessary to take into consideration the disposal and recycling of these products. Although they are made mostly from rubber, tubeless tires still include various other materials that can pose challenges to proper disposal.
The good news is that research on waste tire management, including co-pyrolytic performances of waste bike tires, has led to innovative strategies for repurposing and recycling these materials in a sustainable and environmentally friendly manner.
Some common examples include using waste tires to create road surfaces, playground mats, and construction materials. By developing and promoting these recycling solutions, the environmental and sustainability considerations of using tubeless tires can be addressed in a responsible manner.
Safety Considerations for Tubeless Bike Tires
Tubeless bike tires have gained popularity due to their resistance to punctures and lower rolling resistance. With its advantages come potential safety concerns. In this section, we will discuss the best practices for safe riding and emergency handling techniques when using tubeless tires.
Best Practices for Safe Riding
- Tire pressure: Maintain the recommended tire pressure for your tubeless tires, as stated by the manufacturer. A special valve is used to inflate tubeless tires, and maintaining appropriate pressure ensures better grip and stability.
- Sealed tires: Before every ride, inspect your tires for any cuts or damage. Since tubeless tires use a liquid sealant to self-repair small punctures, look for signs of sealant leaks which may indicate a larger hole.
- Inspect valve stem: Valves in tubeless tires may develop a build-up of sealant around the base. Clean it periodically, and ensure that it is properly tightened and functioning.
- Regular maintenance: For optimal performance, swap out the sealant in your tires periodically, usually every 3-6 months, and keep an eye out for damaged or worn-out tires.
Emergency Handling and Repair Techniques
- Temporary repair: In case of a puncture larger than the sealant’s capabilities, you can use a tubeless tire repair kit, including a dart tool, which plugs the hole with a flexible, fibrous material.
- Using a spare tube: If necessary, carry a spare inner tube which can be installed temporarily in case of a severe puncture that cannot be repaired.
- Portable air compressor: A small, portable compressor can be an invaluable tool for re-inflating a tubeless tire in an emergency situation. Ensure it is compatible with the valve type on your tires.
- Safety first: If you are unsure whether your tubeless tires are safe to ride on or if there is visible damage, stop riding, and seek professional assistance immediately.
By following the guidelines and techniques mentioned above, you can ensure a safe and enjoyable riding experience using tubeless bike tires.
Choosing the Right Tubeless Tires for Your Bike
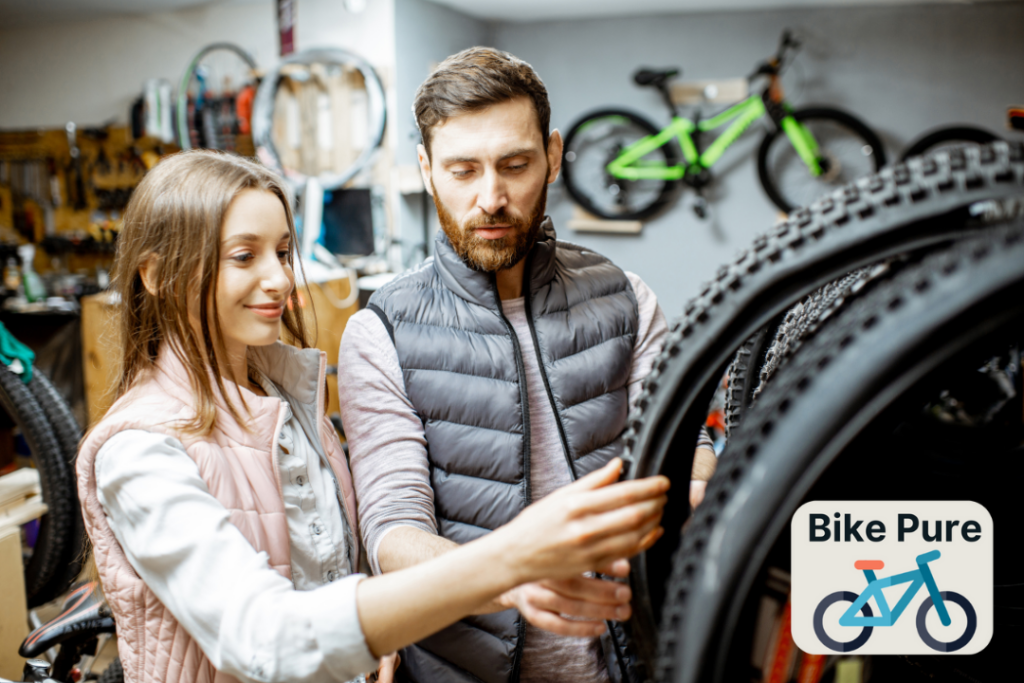
When selecting tubeless tires for your bike, it’s important to consider a variety of factors, such as the top brands and models, different riding conditions and bikes, and insights from professional cyclists and mechanics.
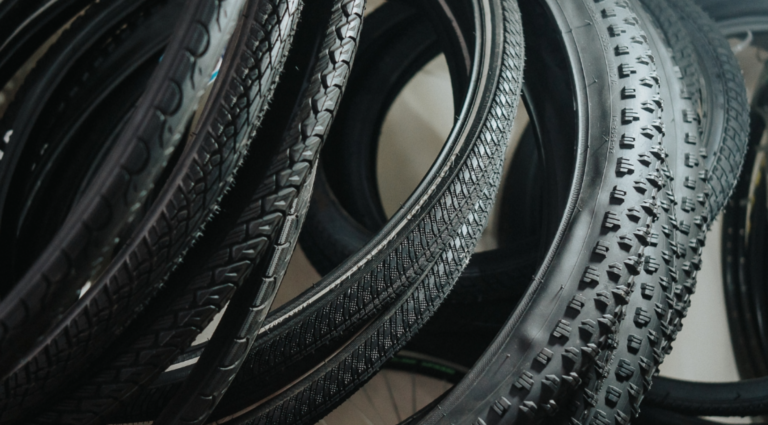
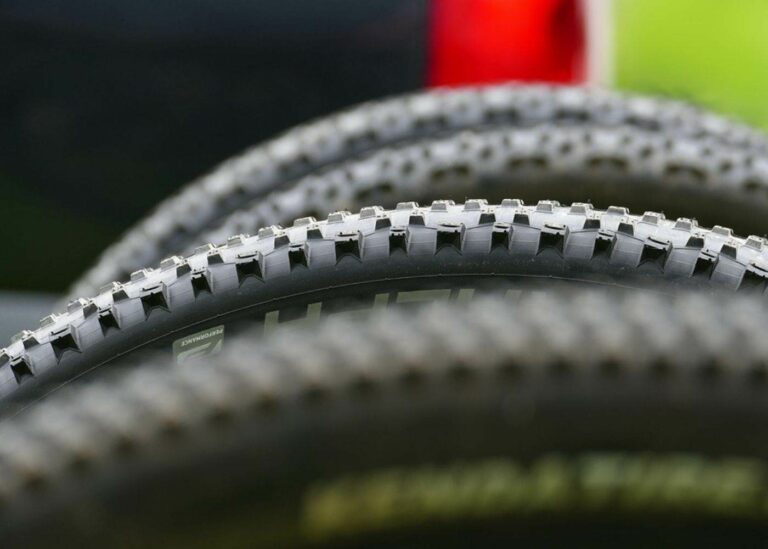
Reviewing Top Brands and Models
There are several reputable brands to choose from, each with their own line-up of tubeless tires offering unique features. Some of the leading tire manufacturers include:
- Mavic: Known for their UST (Universal System Tubeless) technology which provides a secure bead lock and minimal rolling resistance.
- Schwalbe: Offers a wide range of tubeless-ready tires for various riding conditions.
- Continental: Featuring tubeless-compatible road and mountain bike tires with excellent traction and durability.
When reviewing models, consider factors like rolling resistance, traction, and tire pressure recommendations, to ensure you find the best tubeless tire for your needs.
Recommendations for Different Riding Conditions and Bikes
Different types of bikes and riding conditions require specific types of tubeless tires:
- Road bikes: Look for low rolling resistance and a comfortable ride. Consider tubeless-ready or tubeless-compatible clincher tires for easy tubeless setup.
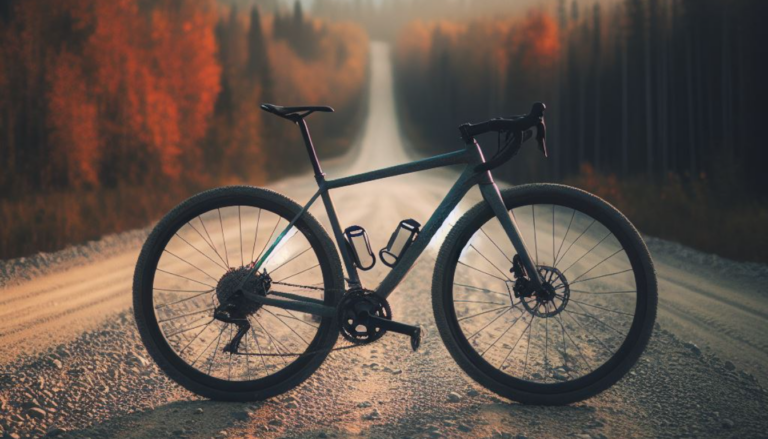
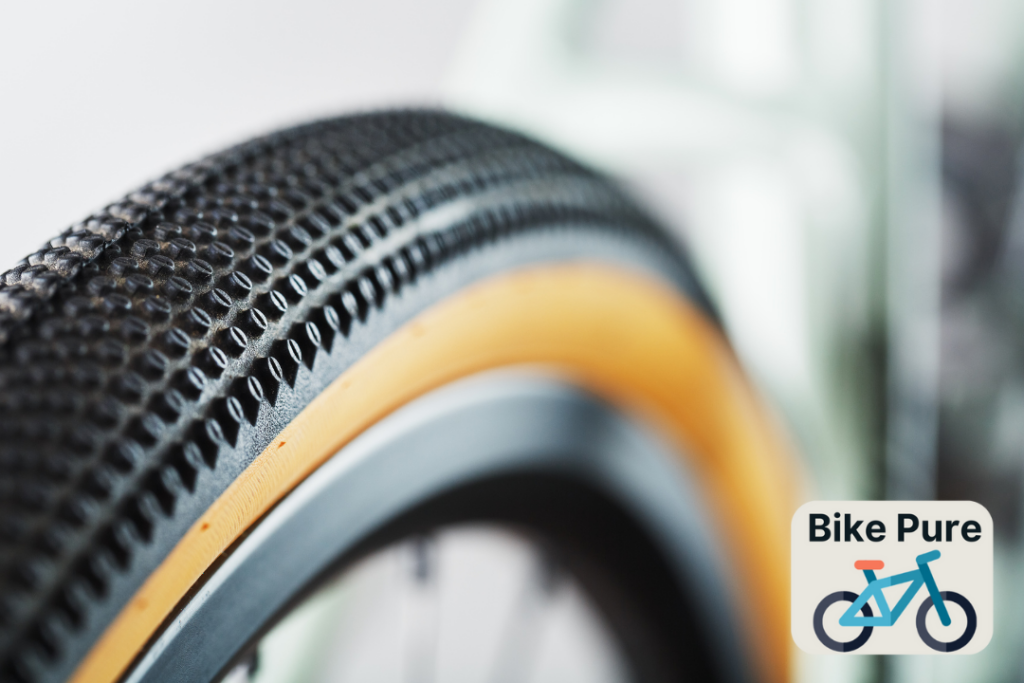
- Gravel bikes: Prioritize traction and a wider tire profile for a smooth experience on loose terrain.
- Mountain bikes: Opt for durable tubeless tires with aggressive tread patterns and robust sidewalls to handle the rough off-road conditions.
It’s important to choose the right tire pressure and adjust it according to your bike and riding conditions for the best performance.
Frequently Asked Questions
What are the benefits of using tubeless tires?
Tubeless tires offer several advantages over traditional tires with tubes. They provide better traction and control, reduced risk of flats, and a smoother ride.
The absence of a tube allows for lower tire pressures, which in turn improves grip on a variety of surfaces. Furthermore, the self-sealing properties of many tubeless tire sealants can quickly and effectively repair small punctures, leading to fewer instances of flat tires.
How do I set up tubeless tires on my bike?
Setting up tubeless tires on your bike involves a few steps:
- Ensure your wheels and tires are tubeless compatible.
- Remove the old tire and tube, and clean the rim to ensure proper sealant adhesion.
- Install a tubeless-specific rim tape to create an airtight seal.
- Mount the tubeless tire onto the rim, applying a tire lever if necessary.
- Add an appropriate tubeless sealant through the valve or directly into the tire.
- Inflate the tire, making sure it seats correctly and securely on the rim.
- Check for any leaks and make necessary adjustments.
- Ride your bike to help distribute the sealant evenly within the tire.
What is the difference between tubeless-ready and clincher tires?
Tubeless-ready tires are specifically designed to be used without an inner tube and feature a particular bead shape that provides an airtight seal with the rim. These tires are often made with thicker sidewalls and require a tubeless sealant for optimal performance. Clincher tires, on the other hand, are conventional tires that require an inner tube for inflation and are not designed to be used without a tube.
Can I use a tube in a tubeless-ready tire?
Yes, you can use a tube in a tubeless-ready tire. If you experience a significant puncture or damage to your tubeless tire that the sealant cannot repair, you can install a regular inner tube to get you back on the road.
Which sealant is best for tubeless tires?
The choice of sealant for tubeless tires largely depends on personal preference and requirements. Factors to consider when choosing a sealant include the type of terrain you’ll be riding on, the temperature range in your area, and the ease of application. Some popular options include Stan’s NoTubes, Orange Seal, and Finish Line.
How to maintain and repair tubeless tires?
Maintaining and repairing tubeless tires involves:
- Regularly checking tire pressure, keeping within the recommended range.
- Periodically inspecting the tires for damage and wear.
- Adding or replacing sealant as needed, typically every 3-6 months.
- Cleaning the rim and tire when changing sealants or performing repairs.
- For larger punctures, utilizing a tubeless tire plug or patch to repair the damage.
- Replacing the tire when its tread pattern is significantly worn or damaged.